Working with a Text Box
You can add an empty text box to a page, then either type text or paste from your clipboard. You can also change the font style, format the text, and set a default font.
To insert a text box, follow these steps:
- Click
 in the Text section of the Insert Ribbon.
A text box is placed in the center of the page.
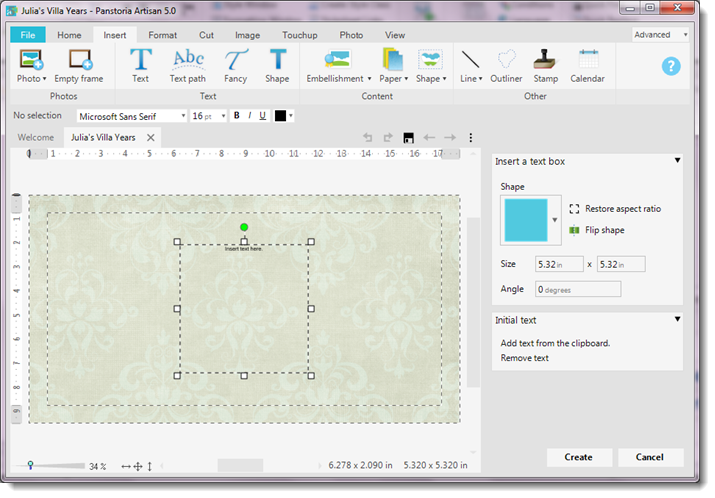
- Click Create to accept the size and shape of the box.
The text box is ready to customize.
Note: You can change the size, shape, position, and even the fill of the text box at any time after you create it, so don't worry if it is not just right.
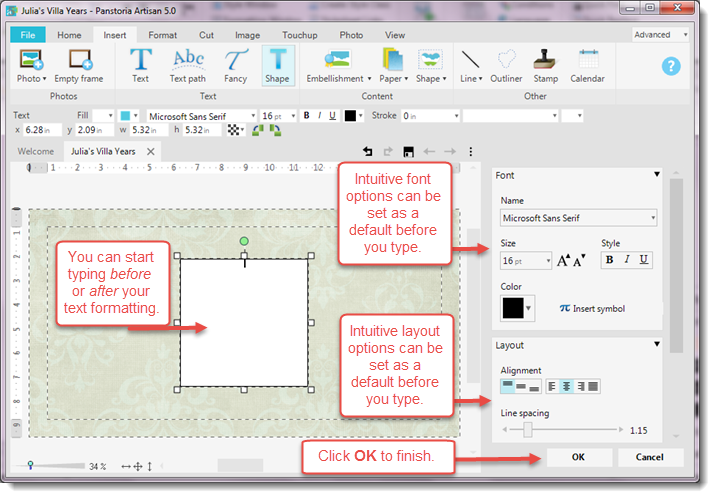
- Click the center of the text box to "open" it for typing.
A blinking cursor appears, and text formatting options are displayed in the right panel.
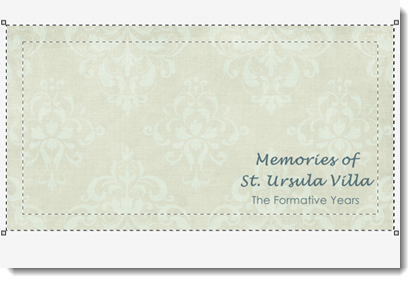
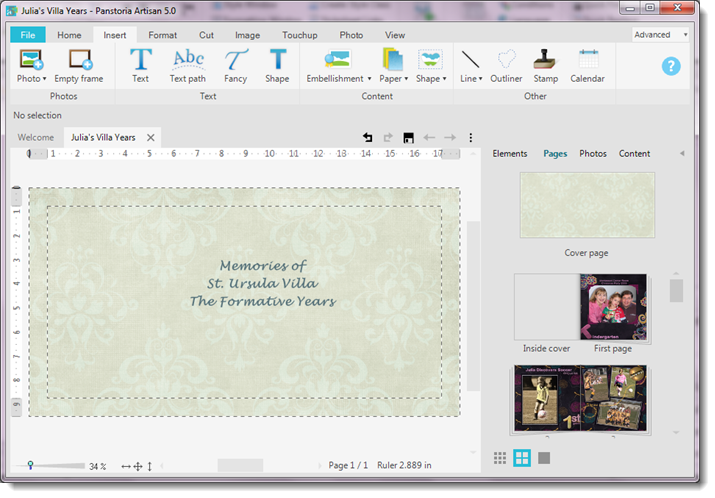
- Click OK to place your finished text on the page.

Note: You can edit your text at any time. To do so, you must activate the text box first. Just point to one of the lines of text and click to select the whole text box. Then click again to get the blinking cursor and the Text panel with the Font and Layout options. With existing text, any changes require first selecting the text you want to change—similar to your word processor.

Note: You can also resize the text box so that lines of text can be grouped or broken appropriately by clicking and dragging the handles of the selected text box. Move the text by clicking and dragging on a line of text while the text box is not in edit mode.